Ever wonder what’s really in store-bought lotion? Ditch the mystery and create your own luxurious body lotion at home with this easy recipe! It uses virgin coconut oil, a natural moisturizer that leaves your skin feeling soft and healthy. Plus, you get to customize it with your favorite scents!
What you’ll need:
- Kitchen scale
- Mixing bowls (2)
- Hand mixer (or whisk)
- Heatproof container
- Spoon
- Rubber spatula
- Sterilized jars (for storage)
- Optional: Vitamin E capsule (puncture with a pin)
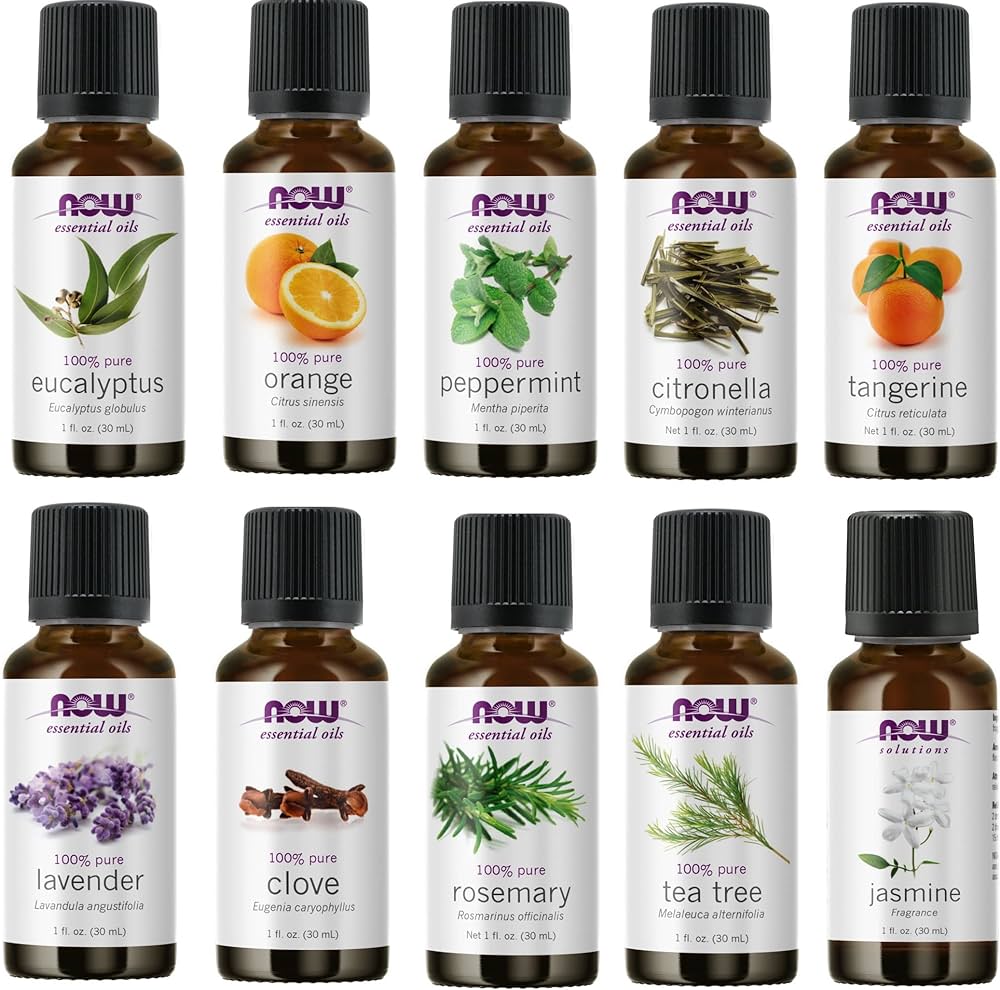
- Optional: Essential oils (like lavender, peppermint, or citrus)
- Optional: Raw honey (a touch for extra moisture)
Ingredients to make 100g (Approximately 100ml) of Lotion:
- 30g Virgin coconut oil -You can change the ratios between Oil & Water as you like. Keep the mix wight of oil and water at 100g. So you can use 20g oil to 80g water, or 40g oil to 60g water. To get a more thick oily feel make the oil percentage is higher. To get a more thin flowing texture make the oil percentage lower and water percentage higher. *Instead of virgin coconut oil you can also you Avocado Oil, Extra Virgin Olive Oil, Shea Butter.
- 70g Water (distilled is best, but tap water works too)
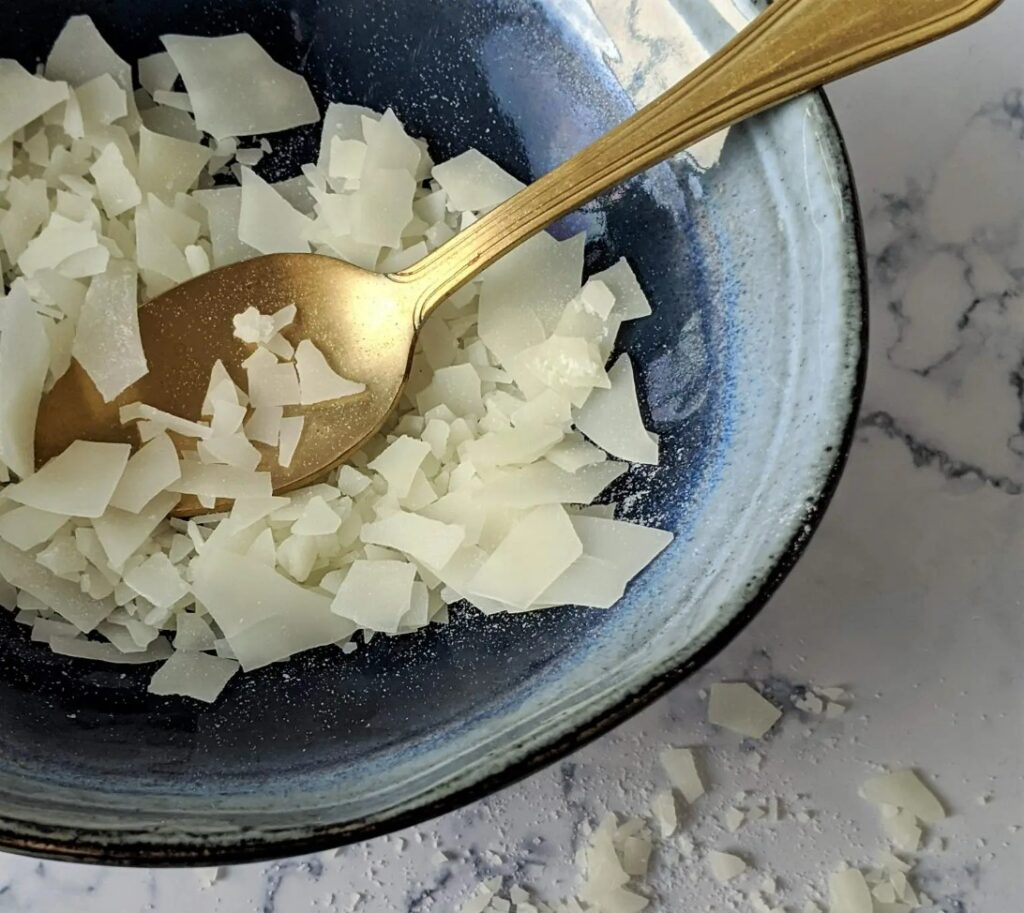
- 8g Emulsifying wax (easily found online or at craft stores)
- Add 1ml or 2ml of essential oil, perfumes, vitamin E, Bees honey as you like.
Let’s get mixing!
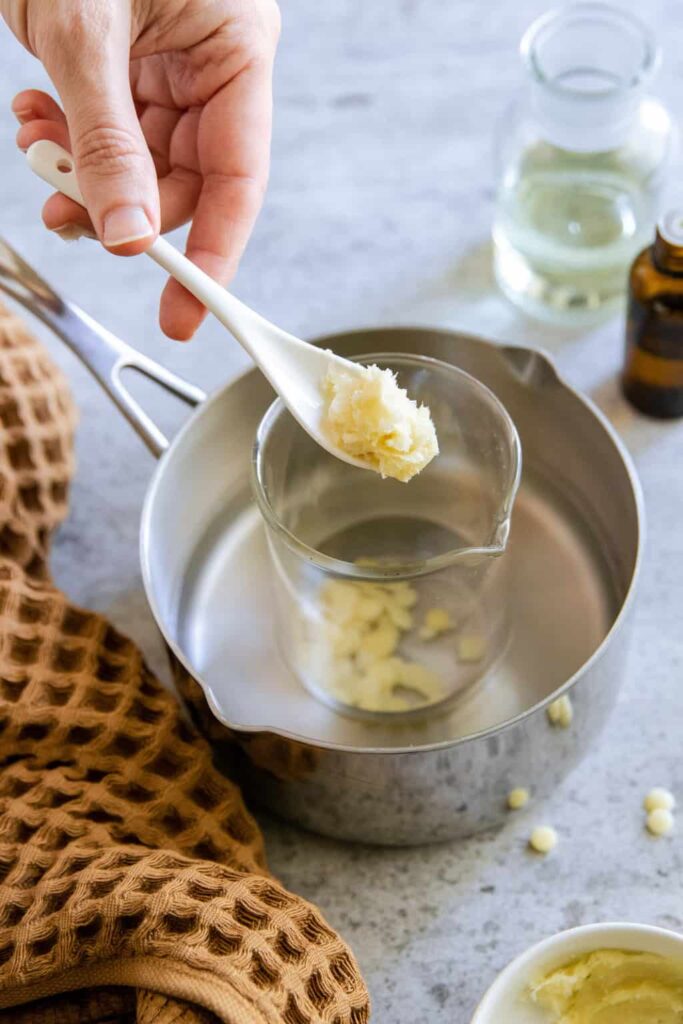
- Warm it Up: In a heatproof container, gently warm the coconut oil over low heat until it melts into a liquid (Virgin coconut oil will be a white solid in cold temperatures. If you are in a hot climate, then your virgin coconut oil will be always in liquid form. So you can avoid this step). Don’t let it boil!
- Watery Business: Bring your water to a simmer in another pot.
- Emulsify this! Add the emulsifying wax to the warm oil. While heating the oil in a double boil technique (because applying heat directly to the oil container will bake the oil) and whisk it constantly until it dissolves completely. This wax helps blend the oil and water together, creating a smooth lotion.
- Oil and Water Harmony: Slowly drizzle the water to the oil mixture while whisking vigorously. This is key to creating a stable lotion. Imagine you’re making a fancy vinaigrette!
- Whip it Good: Once everything is combined, grab your hand mixer and whip the mixture for 5-7 minutes. This incorporates air and creates a light and fluffy texture. If you don’t have a mixer, use a whisk with some elbow grease!
- Cool Down: Let the mixture cool completely at room temperature. This can take 10-15 minutes.
- Customize It! Here comes the fun part! Once cool, you can add a few drops of your favorite essential oil for a delightful scent. Honey adds a touch of extra moisture and a hint of sweetness (be sure to use raw honey). If you included Vitamin E, add a few drops now for extra skin nourishment. Gently fold these extras in with a rubber spatula. Addition of essential oil, vitamin E, bee honey should be done when the mixture is going below 40 degrees Celsius (that is when your hands can touch the surface of the mixing bowl). Otherwise if you add them at higher temperatures like 60 or 70 degrees Celsius, then the beneficial nutrients will vanish.
- Store it Pretty: Pour your finished lotion into sterilized jars and seal them tightly.
Top Tips:
- Label your jars! Note the ingredients and date you made it.
- Virgin coconut oil is solid at cold temperatures. If your lotion feels too firm, place the jar in warm water for a few minutes to soften it.
- Homemade lotion has a shorter shelf life. Keep it in the refrigerator for up to 2 months. Because we do not use any artificial preservatives.
- Start small! This recipe makes a single jar. Once you get the hang of it, experiment with different additions!
Enjoy pampering your skin with your very own creation! This DIY coconut lotion is a fun and affordable way to ditch harsh chemicals and embrace natural ingredients. So go forth, mix, match, and moisturize!
